Back in February, we shot a video about the tools we carry on long trips, and exactly why they’re essential. (You can read the blog and see the video here.)
This week we’re following up with a discussion of the spare parts, tapes, and lubricants that we also bring on every trip. In the course of shooting this 23-minute video we came up with 21 separate tips for you, so it’s probably worth your while to watch the whole thing.
If you prefer to read the Cliff’s Notes version, here’s the summary of the tips:
- Choose spare parts based on your travel style & abilities
- Carry spares of cheap consumables like grease
- Bring spares that are hard to obtain on the road
- Tapes: Teflon, butyl, electrical, silicone, masking, body
- Threadlocker: great for screws that keep backing out
- Consider bringing spares of “dumb but essential” parts
- Light, small, handy items like zip ties and storage bags
- Gloves! Mechanics and vinyl
- Spare propane hoses and tools needed to change them
- Lubricants: silicone spray, Boeshield T9, grease, etc
- Little items: drain plug, fuses, latches, rivets
- Hensley owners: get the spare parts kit
- If you might replace the drain plug: 15/16″ socket
- Your Fantastic Vent and power hitch jack may need a glass fuse!
- Extra #8 wood screws for furniture
- Replacement refrigerator bulb
- “Travel size” containers of glue, lube, cleaner, etc
- De-Oxit and burnishing tool for electrical connections
- Organize your supplies into kits
- Pre-made kits available in the Airstream Life Store
- “Free-flowing” Y connector for big rallies
 You also don’t need to stock up on a lot of fancy lubricants. Most simple jobs can be done with common silicone spray, which is available in any hardware or auto parts store. We also use and recommend Boeshield T-9, because it quickly dries to a waxy, waterproof finish that inhibits corrosion and lasts longer. It also doesn’t capture dirt like grease does. (You can find Boeshield in the Airstream Life Store both as individual bottles and as part of our
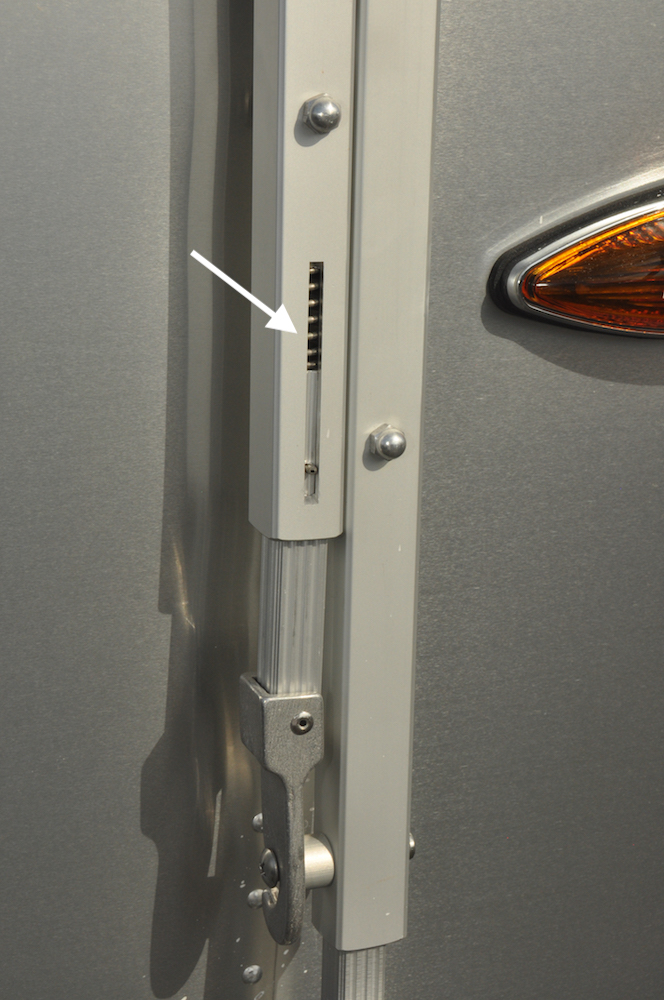

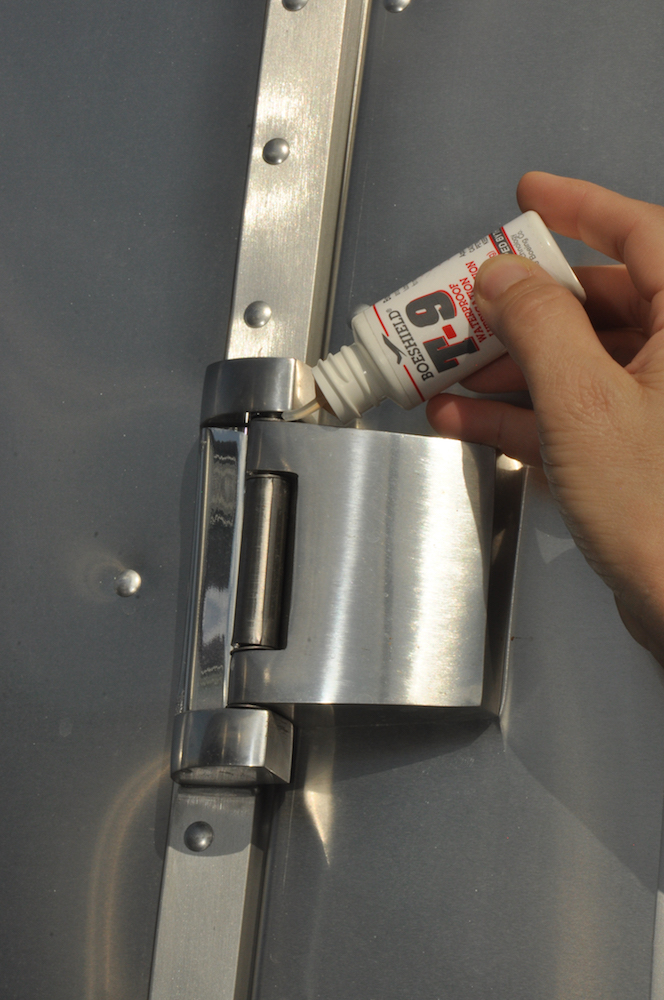 3: Door hinges. Your Airstream door should not sound like the entrance of a haunted mansion. But don’t use silicone here; it tends to make a messy black streak (the result of silicone and aluminum oxide mixing) that you’ll find after your first tow or rainstorm.
 4: Folding entry step. The entry step doesn’t usually need much help, but if it’s making noise, generating black dust (on an aluminum step), or hard to move, it’s time to lube it up. Silicone or Boeshield can be used on the hinge points. Work the hinge a few times the way you did with the entry door.
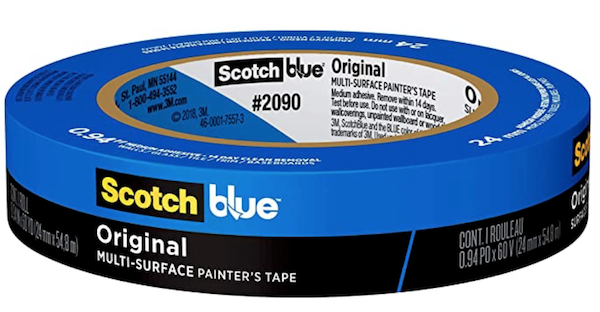 Masking tape
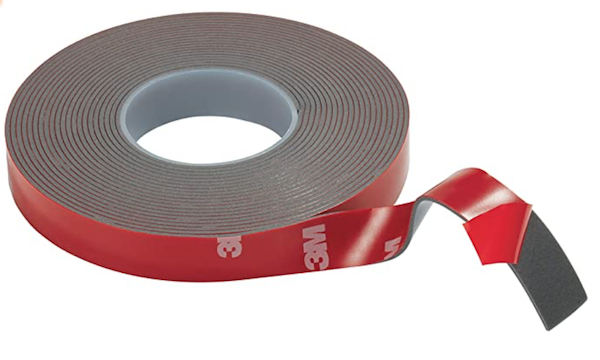
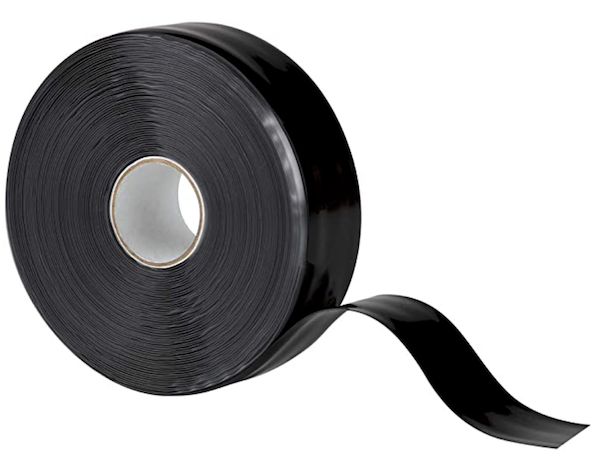 Silicone tape
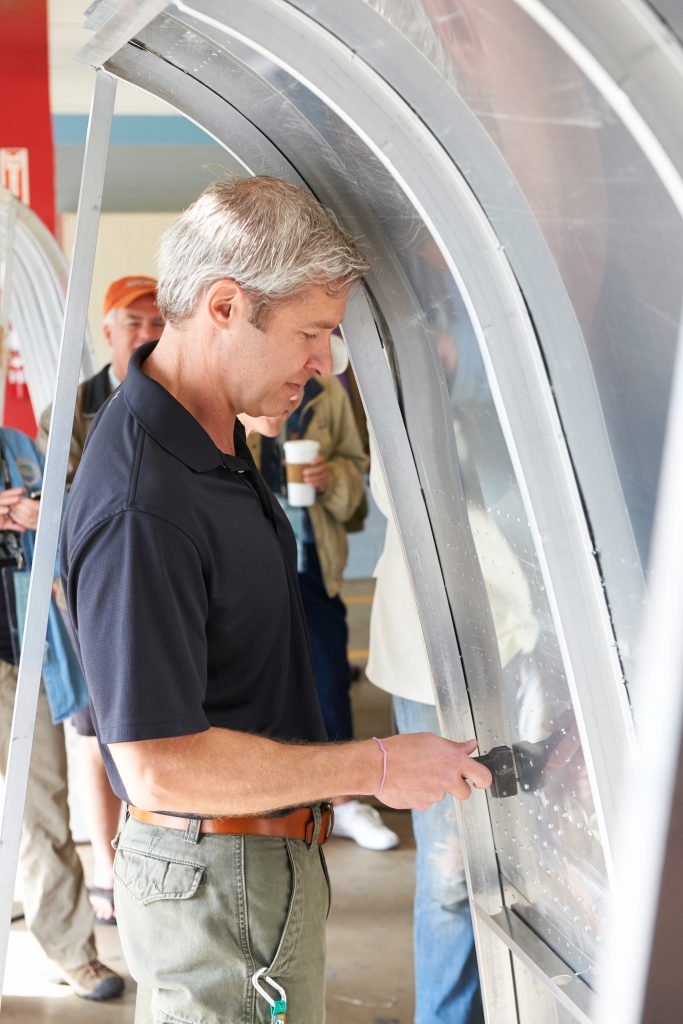
 The inside installer holds a shaped metal tool called a “bucking bar” that is pressed against the tail (or stem) of the rivet. The rivet gun very quickly hammers the rivet, pushing it inward and squashing the tail against the bucking bar, which causes the tail to get shorter and wider. This fills the hole and locks the two pieces of aluminum together very strongly.
 Airstream uses a variety of pop rivets, but most are aluminum and most have 1/8” diameter body or 3/16” diameter body. You can find the basic type in hardware stores. There are also specialty rivets with extra-wide heads, used for belly pan repairs. It’s a good idea to have a few of those in your tool kit too.